Construction Guide OSRS
Construction OSRS is a skill available for members only which allows you to build your own house as well as the furniture for it. Not gonna lie – construction is probably the most expensive skill in OSRS. The reason for this is that the supplies you need for construction training cost a lot OSRS gold. That’s why if you’ve set your mind on training construction, and especially if you plan to get that max 99 level, you need to buy OSRS gold. Not kidding. You’re going to need this.
An interesting thing about training construction is that it is one of the skills on OSRS that are very single-player oriented. You’re alone in your house, you build furniture, you mind your own business…Actually, it can be pretty relaxing. And if it gets lonely, you can always visit a friend’s house if you use the same portal and they are home.
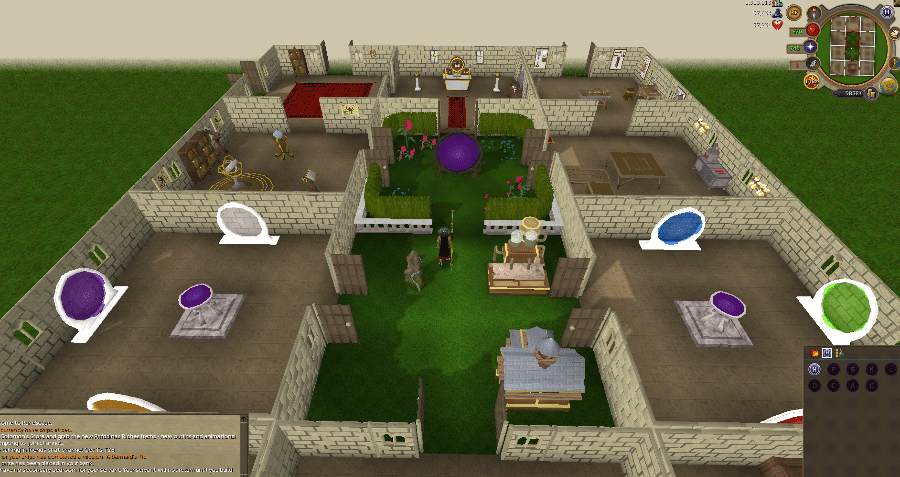
Now let’s start this OSRS construction guide by telling you the basics of the construction skill. First step for training construction is buying yourself a house from an estate agent. Luckily, that’s not such an annoying task in the game as it is in real life! To locate an estate agent, you can go just east of the palace in Varrock, northeast of the bank in Seers’ Village, between the furnace and the east bank in Falador, west of the south bank in Ardougne, or south of the Mess in Hosidius. They are marked with a small black house icon on the map.
Your starter house costs 1000 coins and will be located in Rimmington, a small village in southwest Asgarnia. To get to your newly bought house, you can teleport there if you have level 40 Magic or you can walk to Rimmington and find the portal icon – looks like a small purple circle on the map – which will teleport you directly to your house. It’s highly recommended that you get 40 Magic though, it saves a lot of time and you won’t have to run from the bank to your house every time. Also wear weight-reducing gear so you don’t lose run energy too fast when you’re managing things at your house.
For now, you only have one small room – the Parlour, and a garden. The maximum rooms that can be built is reached at level 99 and is 33.
To train your constuction skill, you need to build more. You go to the options menu, select house options and set the build mode on. Now you will see ghost-like “hot spots” – that’s where you can build new objects. You simply right-click the hot spot and select Build, then pick the item you want to build from the menu. Below the icon for the furniture, there is a list of materials you need to build it and you must have them in your inventory in order to do it.
Keep following our 1-99 construction guide OSRS to learn how to train Construction OSRS efficiently!
Construction OSRS Materials
To start following our OSRS contruction guide, you are going to have to buy some materials first. You need a saw and a hammer to construct things. Other items that are frequently required for training construction are planks, nails, cloth, bricks, soft clay, and steel bars.
Now, if you’re on Ironman mode or don’t want to buy your planks, you can train woodcutting and make your own planks out of the logs. To do so, you need to visit one of the two sawmills in OSRS – the one in Varrock Lumber Yard or the one in the Woodcutting Guild. The sawmill operators will exchange your logs for planks for a fee. You may use wood, oak, teak and mahogany. You can also buy some construction supplies there.
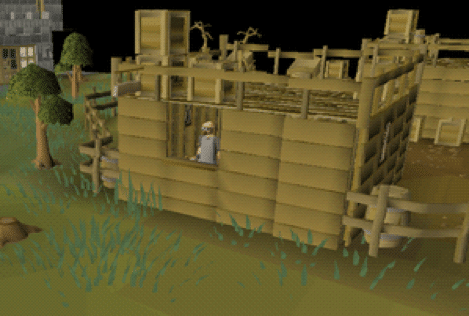
However, you should know making planks doesn’t give you any construction xp.
It’s a bit harder for Ironmen to train Construction OSRS as they need to chop down all of their logs – and that’s a grand amount of wood! So it’s best advised on our OSRS Ironman Construction guide to train Construction after Woodcutting, when you’ve stocked yourself up good with logs. Another option for Ironman is to get teak and mahogany planks with Managing Miscellania, but the otuput is somewhat low.
Keep all of your planks in the bank when you’re training, because your butler can retrieve any number when you ask for them.
You can make nails using the Smithing skill out of any kind of bar – this is especially useful for a OSRS Ironman Construction guide. Nails work a bit differently to other materials – they can often bend and break, especially when your construction level is still low. Always buy more nails than your furniture requires. Also, nails from stronger metals break less frequently. Rune nails are the strongest nails in OSRS but high level nails are expensive, so most players prefer to stick to mid level ones such as iron or steel.
For stoneworking materials and higher level furniture, you can visit the stonemason in Keldagrim and get limestone bricks, marble blocks, gold leaves or magic crystals. Limestone bricks are cheaper in the Mort’ton building/general store though. You can also make limestone bricks out of limestone with a chisel. For Ironmen it’s best to mine your own limestone east of Varrock or Arandar.
Another quick tip you may find useful is that you can turn clay into soft clay by simply adding water. You can do it using your garden or kitchen water source.
If you want to use plants in your Gardens and Formal Gardens, you can get some from the Garden supplier in the Falador Park. He offers a great variety of bagged plants, prices varrying from 1000 to 100,000 coins.
Once you have a level of 25 Construction, you can build your Skill Hall where you display your achievements. Many players like to put stuffed heads of monster heads, dropped from monsters, in their Skill Hall. To do that, you need to turn them into trophies at the Taxidermist in Canifis. You can also get your big bass, big swordfish and big shark stuffed there for display.
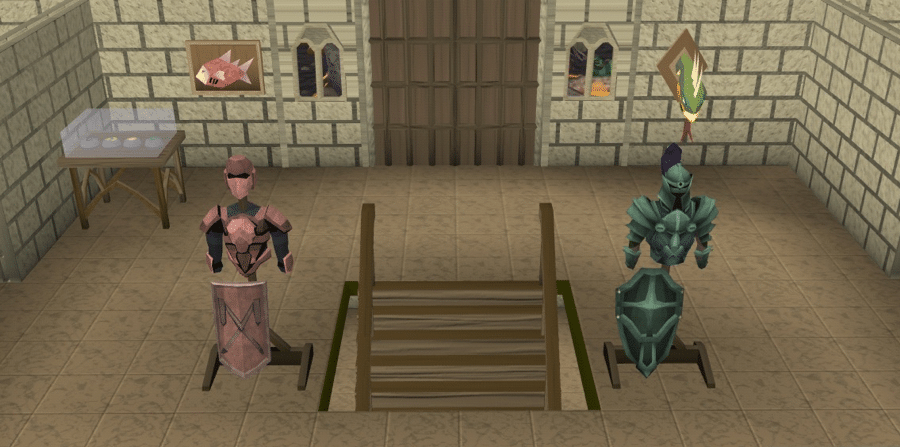
To make your house look even fancier, you can buy maps, landscapes and portraits by talking to the Chief Herald of Falador Sir Renitee. He’s located upstairs on the east side of the White Knights’ Castle and can also change your family crest, which appears on the decorations in the house and on your crafter armour.
1-99 Construction OSRS Guide
• Level 1-19: Chairmaking.
We start the OSRS Construction guide with building Crude wooden chairs, for which you need 2 planks and 2 nails each. In total, you are going to need 143 planks and 200-700 nails depending on how cheap is the metal they’re made of . You can get cheap bronze nails from the sawmill for 2 gp/each but the sawmill needs time to restock – you can go around this by hopping worlds. If you’re cutting the logs yourself and making them into plansk at the sawmill, you need about 14,300 gold. If you want to go as cheap as possible and ready to invest time in this, hop worlds at the four plank spawns outside the north fence of the Barbarian Outpost.
Every crude wooden chair you’ve built gives you 58 Construction xp. To get to level 19, you need to build around 70 chairs.
Now if you want to go faster and don’t mind spending more OSRS gold, you can switch to building Wooden chairs at level 8. They cost 3 planks and 3 nails but give you 87 xp.
How you start is basically clicking, while you’re in building mode, on the Build Chair space in the Parlour and pressing 1 to select the Crude wooden chair. When your character has built it, right click “remove chair” and press 1 to confirm. Repeat until level 17.
At level 17, you can build a Workshop and Workbench which costs 10,000 for the room. This will speed up your process because you will be able to build multiple chairs without removing them. Your chairs built at the workbench will make flatpacks which you can sell at Grand Exchange. Oh, and you won’t need to go into building more anymore.
•Level 19-33: Oak chairs.
The good thing about Oak chairs is that they don’t require nails, therefore have a constant build time. This makes building them run a lot faster than building the Wooden chairs. You are going to need 238 Oak planks to make 119 Oak chairs.
When you’re level 20, it’s a good idea to complete The Fremennik Isles to get the 5k Construction xp reward. At level 32 you can build an Oak workbench which allows you to build all sorts of oak furniture such as the Carved oak table which requires 6 oak planks to build and grants you 360 xp.
•Level 33-50-(74-99?): Oak larders.
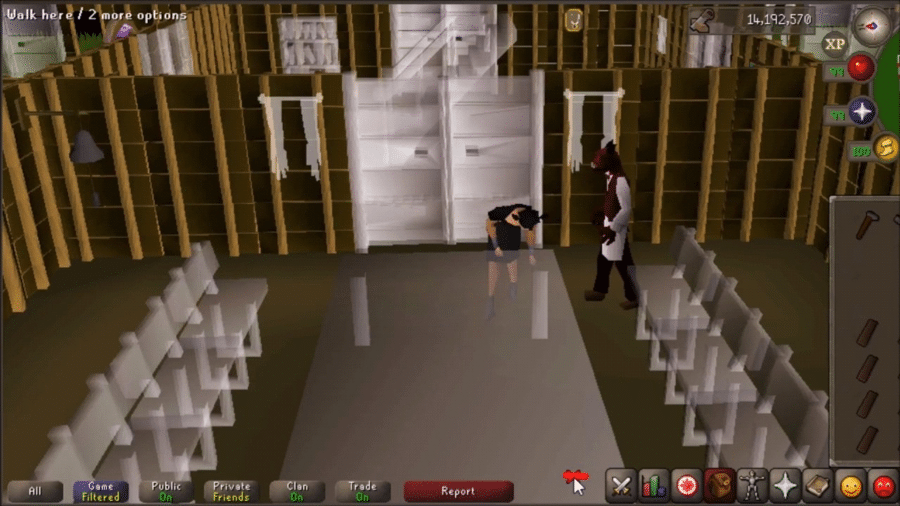
To build an Oak larder, you need 8 oak planks each, which will cost you more than 7m coins if you’re buying your materials from GE. Each Oak larder grants you 480 Construction xp. For Ironman or if you just decided to cut the logs yourself, the cost is significantly lower – about 4,492,000 coins, but it will take you a very long time.
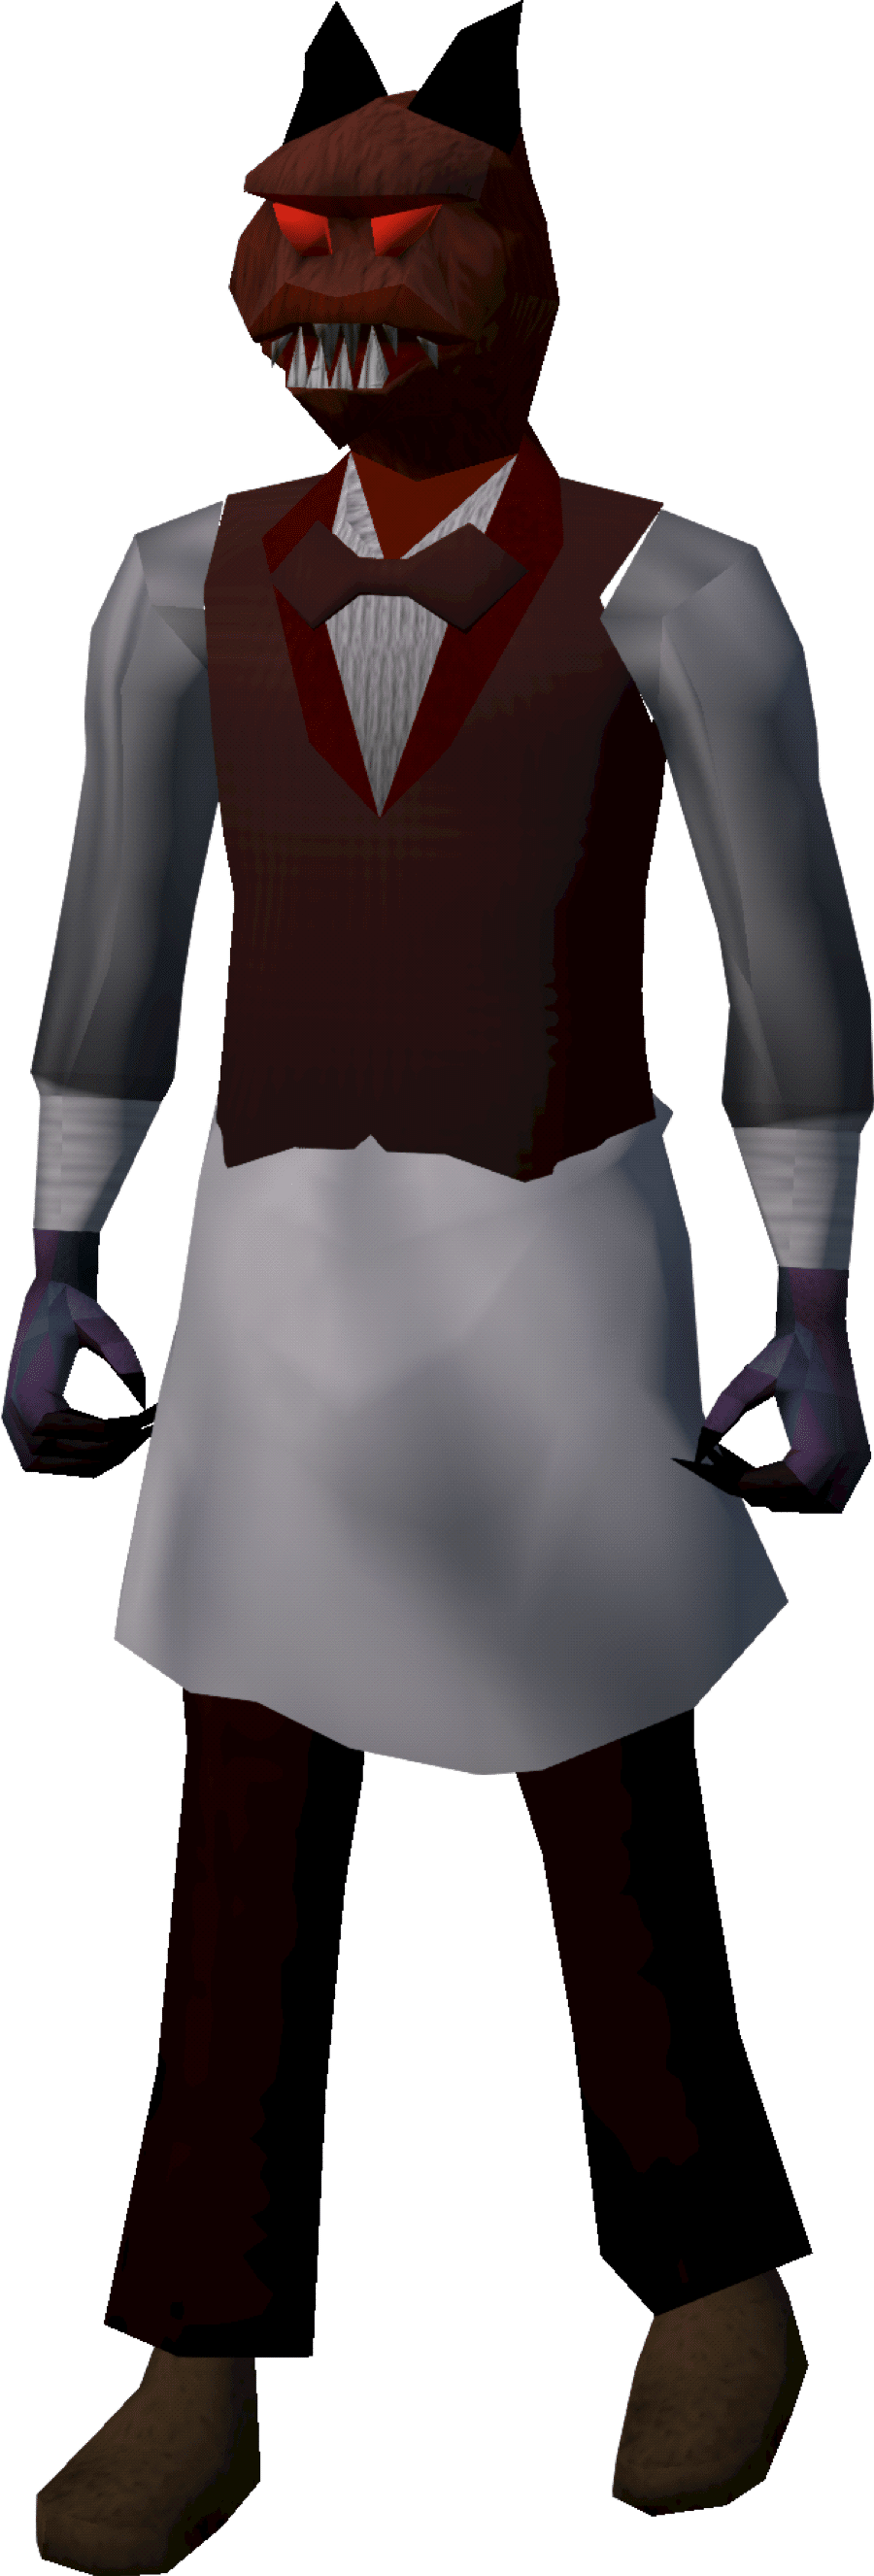
It’s best to hire a demon butler for making oak larders. To do that, you need to speak to him at the Servants’ Guild in East Ardougne, right north of the Market. He requires 10,000 coins payment and you need to have two bedrooms with beds in your house to invite him. Once you hire him, you will find him in your house. He can take items to and from the bank for you, as well as take logs to the sawmill to change them into planks. He carries up to 26 items with him and it takes him about 7.2 seconds to perform an action. About every 8 actions he’s going to require his payment fee. If you get a Servant’s moneybag, the service of payment will be performed automatically.
Building Oak larders grants between 140,000 – 350,000 xp per hour and you can actually continue doing it til level 74 or even 99.
•Level 50 – 74 (99?): The mounted mythical cape.
First, to get the mythical cape, which is obviously a requirement for this method of training, you need to complete Dragon Slayer 2. To build the mounted mythical cape in the guild trophy hotspot of the Quest hall, you need 3 teak planks each plus the cape which can be reused. By constructing guild trophies, the xp is boosted and is about 370 xp for each mounted mythical cape. This gets you about 200k xp/h if you’re denoting with Phials in Rimmingon. You can go a lot faster and better with a demon butler. When you’re at level 58 and can use a Servant’s moneybag, he can carry 24 teak planks in his inventory, otherwise it’s just 21. Training with the demon butler is more expensive but gets you 300,000 – 370,000 xp/h.
If you’re enjoying this method and don’t mind spending 95 m and a half coins, you can actually use it to get to level 99.
•Level 52 – 74 (99?): Mahogany tables.
Another option we offer you in this fast and efficient 1-99 Construction guide OSRS is to start building Mahogany tables at level 52, which requires 6 mahogany planks each. Now that’s going to be a lot more expensive and i will cost you about 190,790,800 coins to get to level 99, but it grants more xp. A mahogany table gives you 840 xp, so you make 600k-900k xp/h, based on how efficient you are.
To optimize this option, you can build 2 tables at a time while your demon butler is fetching you planks from the bank. It’s fas and efficient but you will need to buy OSRS gold to get this going.
•Level 69 – 74: Carved teak magic wardrobes.
If you want to go faster than building Oak larders, don’t want to complete Dragon Slayer 2 and have no gold for Mahogany tables, you can build Carved teak magic wardrobes. They require 6 teak planks each and give 540 xp each. It’s best to use the demon butler while building them. You need 4,764 teak planks total and you will build 794 wardrobes to get to level 74 Construction OSRS. You get about 300-500k xp/h and it will cost you around 4,326,000 coins.
•Level 74-99: Oak dungeon doors.
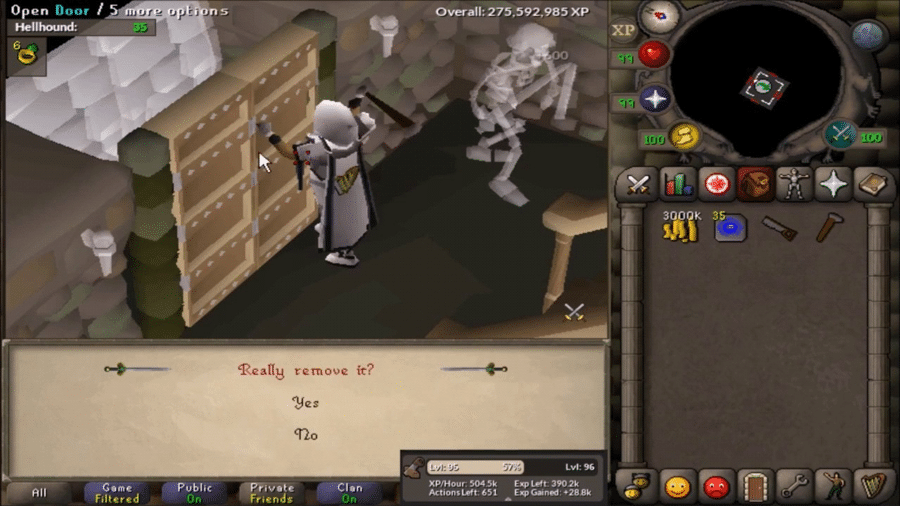
And here we are at the final part of the OSRS Construction guide! Building Oak dungeon doors will cost you 10 oak planks each, therefore about 78-79m total. If you’re an Ironman and cutting the logs yourself, this will cost around 50m gold and a huge load of time.
An oak door gives you 600 Construction xp. Unlike the other methods, it’s best to use the human butler here rather than the demon one, because he is too fast and will interrupt you before you can remove the second door.
To get the max xp rate of 450-550k xp/h you must use the “build and remove” trick while you keep holding down 1 all the time. While you’re holding it, click the butler so he can fetch you more planks and so you can build and remove the 2 doors before he comes back.